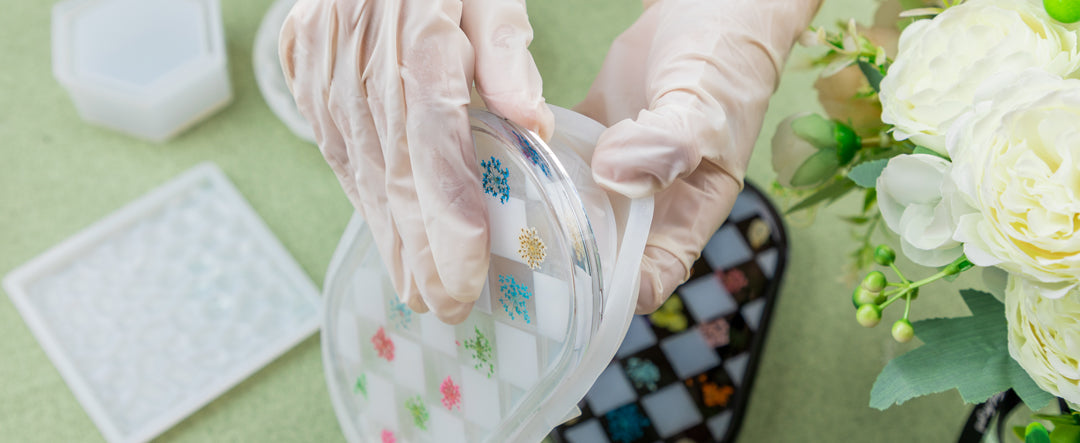
How To Use Resin Molds For Beginners

How do I Use Resin Molds?
Resin Molds are a fun and popular craft project, particularly for resin beginners. Easy to personalize, they're a great way to express your creativity and are perfect for gifting or selling.
Resin molds are a great way to create unique and beautiful handmade crafts. They come in a variety of shapes and sizes, from simple geometric shapes to intricate designs. If you're new to using resin molds, here's a step-by-step guide to get you started.
What materials are needed to use resin molds to make crafts?
ISTOYO epoxy resin
Disposable gloves
Graduated plastic mixing jar
Stirring stick (such as a wooden or automatic whisk)
Heat gun
Dust cover (such as a clean cardboard box, plastic tote bag, or deli tray cover)
Various pressed dried flowers and leaves
Gold or silver leaf for added shine
Tweezers
Silicone mold
Toothpick
Instructions for using resin molds:
Step 1: Choose Your Resin
The first step in using resin molds is to choose the right type of resin. There are two main types of resin: polyester and epoxy. Polyester resin is less expensive and creates a very hard surface. Epoxy resin is more expensive, but it's more versatile and gives a glossy finish. Make sure to read the instructions carefully before choosing your resin, as each type has different curing times and may require different mixing ratios.
Step 2: Choose Your Mold
Once you've chosen your resin, it's time to choose your mold. There are many types of molds available, from silicone to plastic to metal. Make sure to choose a mold that is compatible with your chosen resin. Silicone molds are a popular choice, as they are flexible and can be used repeatedly.
Step 3: Prepare Your Work Area
Before you start working with resin, it's important to prepare your work area. Lay down a protective barrier, such as a plastic sheet or newspaper, and make sure you have all the supplies you need within reach. Wear gloves and a face mask to protect yourself from the fumes.
Step 4: Mix Your Resin
Mixing your resin is the most important step in the process. Follow the instructions carefully, and be sure to measure out your resin and hardener correctly. It's important to mix the resin thoroughly to avoid bubbles and ensure the resin cures properly.
Step 5: Add Your Pigment
If you want to add color to your resin, now is the time to add your pigment. Mix in a small amount of color at a time until you achieve your desired shade. Be careful not to add too much, as it can affect the curing process.
Step 6: Pour the Resin into the Mold
Once your resin is mixed and pigmented, it's time to pour it into the mold. Be sure to pour slowly, and don't fill the mold all the way to the top. Leave some room for the resin to expand as it cures.
Step 7: Remove Bubbles
As you pour the resin into the mold, bubbles can form. To remove the bubbles, use a heat gun or a toothpick to pop them.
Step 8: Let the Resin Cure
Finally, let the resin cure according to the manufacturer's instructions. This can take anywhere from a few hours to a few days, depending on the type of resin and the size of the mold. Once the resin has cured, it's ready to be removed from the mold and used in your craft projects.In conclusion, using resin molds can be a fun and rewarding way to create beautiful crafts. With a little patience and practice, you can create unique and personalized pieces that are sure to impress. Just remember to follow the instructions carefully, and always work in a well-ventilated area with proper protective gear.


Leave a comment