
How to Polish Resin

Resin crafting has taken the DIY world by storm, offering endless possibilities for creativity. So you've made a beautiful resin piece, and now you want to take it up a notch by adding a glossy, professional finish. Dive into the world of resin polishing, where we'll share easy and authentic steps to achieve that awe-inspiring shine.
Step 1: Smoothing the Rough Edges
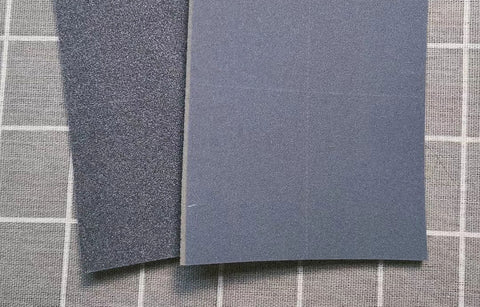
Alright, let's get down to business. Start by grabbing some sandpaper with a grit rating of 400 or higher, which is like giving your resin a well-deserved spa treatment. Gently sand away any imperfections or rough patches, using circular motions and keeping everything even. No need to go Hulk-mode here, a gentle touch will do the trick.
Step 2: Wet Sanding for that Extra Smoothness
If you're aiming for an extra smooth finish, why not give your resin a splash of fun? Wet sanding is the second step for achieving silky perfection. Dampen your sandpaper with water and continue with those circular motions, feeling the cool water glide under your fingertips. Rinse away the debris and embrace that refreshing feeling.
Step 3: Buffing with a Splash of Magic
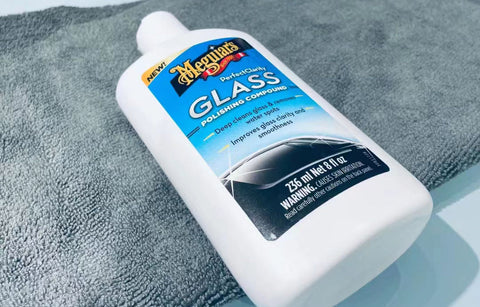
Now it's time to add a touch of enchantment to your resin piece. Grab a specialized resin or plastic polishing compound, your secret ingredient for a mesmerizing shine. Apply it to the surface and let the magic happen. Use a soft cloth or a polishing pad to buff your resin in gentle, circular motions. Just imagine you're granting your resin piece its own personal genie.
Step 4: Ah, the Power of a High-Speed Buffer
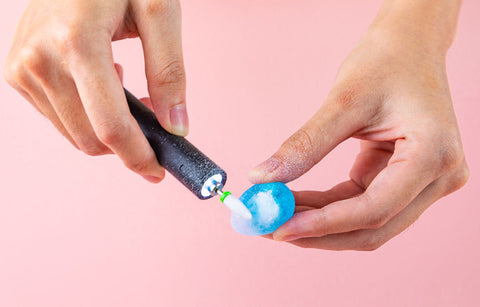
Feel like taking your resin from sparkle to full-blown radiance? If you happen to have a high-speed buffer at hand, you're in for a treat. Remember, though, controlling that power is crucial. Apply a buffing compound to the resin and let the buffer spin its magic. Keep the speed low to avoid resin-damaging friction and watch your piece transform into pure brilliance.
Step 5: Varnish
Applying a clear varnish can give your resin a glossy and professional-looking finish. Select a high-quality varnish designed for resin finishes. Begin by ensuring the resin is clean and free of any dust or debris. Use a brush or foam applicator to evenly apply the varnish in thin layers. Allow each layer to dry completely before applying the next. Multiple coats may be required to achieve the desired level of glossiness. Remember to follow the manufacturer's guidelines for drying time and application instructions.
![]()
Conclusion:
Polishing resin may feel like an art form, but it's a simple and rewarding process that can unlock the true potential of your resin creations. With a down-to-earth approach and a touch of enchantment, you'll transform rough resin into a mesmerizing masterpiece. Remember to enjoy the journey, experiment with different techniques, and let your authentic creativity shine through at every step. So go forth, embrace the polish, and revel in the captivating beauty you can create with resin.
FAQ
Is resin polishing only for experienced crafters or can beginners try it too?
Resin polishing can be enjoyed by crafters of all levels, including beginners. While some techniques may require practice to perfect, anyone can achieve satisfying results with patience and a willingness to learn. Start with small projects and gradually build your skills to tackle more intricate pieces.
Can I use regular household items for sanding and buffing resin?
Yes, you can use regular household items for sanding and buffing resin. Sandpaper with a higher grit rating can be found at hardware stores, and soft cloths or polishing pads from around the house can be used for buffing. However, using specialized products designed for resin can provide more optimal results.
Will polishing completely remove imperfections in the resin?
Polishing resin can greatly reduce the visibility of imperfections, but it may not completely remove deep scratches or blemishes. The goal is to achieve a smooth and visually appealing finish. If you encounter stubborn imperfections, you may need to repeat the sanding and polishing process or explore other techniques such as filling and reshaping the resin.
How often should I reapply the resin sealer?
The frequency of resin sealer application depends on various factors, including usage and the resin's exposure to sunlight and air pollutants. As a general guideline, it is recommended to reapply the resin sealer every few months or as needed. Monitor the appearance of your resin piece and reapply the sealer if you notice the shine starting to fade or the surface becoming dull.
Can I use an alternative to a high-speed buffer?
If you don't have access to a high-speed buffer, don't worry! While a buffer can speed up the polishing process, you can still achieve a glossy finish using hand buffing techniques. Take your time, use a soft cloth or pad, and apply gentle pressure while buffing. The key is to maintain consistent circular motions and ensure even coverage over the resin surface.
Remember, resin polishing is a creative process, so feel free to experiment, adapt techniques to suit your preferences, and let your artistic flair shine through. Enjoy the journey and embrace the unique beauty that polished resin can bring to your crafting endeavors.
Here are some additional notes to include in the article:
Safety first: When sanding and polishing resin, it is important to wear protective gear such as gloves and goggles to prevent any potential injury from flying particles or chemicals.
Take breaks: Polishing resin can be a time-consuming process, so remember to take breaks to rest your hands and avoid fatigue. It's a labor of love, so pace yourself and enjoy the experience.
Experiment with different techniques: Don't be afraid to try different sanding methods, buffing compounds, or polishing pads to find the combination that works best for you and your resin projects. Every crafter has their own unique approach, so feel free to explore and find your signature style.
Practice on test pieces: If you're new to resin polishing or trying out a new technique, it is always a good idea to practice on small test pieces or scraps of resin before working on your main project. This way, you can refine your skills and gain confidence before tackling more significant pieces.
Clean and maintain your tools: After each polishing session, make sure to clean your sandpaper, polishing pads, and buffers to remove any resin residue. This helps extend the lifespan of your tools and ensures optimal performance during future polishing sessions.
Embrace imperfections: While the goal is to achieve a smooth and shiny surface, resin crafting celebrates uniqueness. Don't get too caught up in attaining absolute perfection. Embrace any minor imperfections or quirks in your resin pieces, as they can add character and charm.
Share your creations: Once you've mastered the art of resin polishing, don't forget to showcase and share your stunning creations with fellow crafters and art enthusiasts. Share your tips and tricks, inspire others, and be open to learning from the resin community – the possibilities are endless.
Remember, resin polishing is both a science and an art form. Embrace the process, enjoy the journey, and let your creativity shine through as you transform your resin creations into polished masterpieces that are sure to captivate and impress.
Leave a comment