
How to Make Stunning Resin Jewelry: A Step-by-Step Guide
Introduction
Are you ready to dive into the captivating world of resin jewelry making? Brace yourself for a journey that combines artistic expression and personal style. In this authentic and engaging step-by-step guide, we'll equip you with the knowledge to craft breathtaking resin jewelry that will turn heads and ignite conversation. So, let's roll up our sleeves and embark on this exciting adventure!
Gather Your Materials
Before we get messy, let's round up our essential supplies:
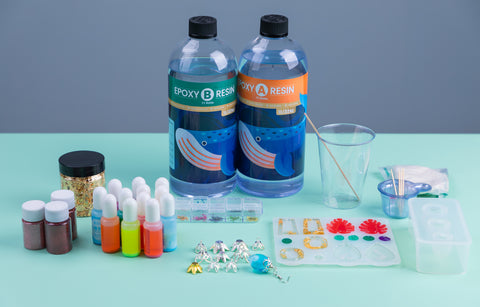
Epoxy resin (trustworthy, like a loyal friend)
Resin pigments or dyes (for that burst of color!)
Silicone molds (where your artistry will shine)
Mixing cups and stir sticks (let the magic dance begin)
Jewelry findings (jump rings, earring posts, or chains - your trusted accomplices)
Craft glitters, dried flowers, quirky trinkets (optional, but unleash your wild side)
Sandpaper or polishing tools (for that finishing touch)
Set the Stage:
Find a cozy spot with good ventilation, and protect your working area with a trusty plastic or silicone mat (a superhero cape against spills and smudges). Now, make sure all your materials are right by your side, like steadfast companions on this artistic odyssey.
Step-by-Step Crafting Process
Mix the Resin

Listen up and pay attention to the resin manufacturer's instructions, like a clever teacher guiding you. Combine the epoxy resin and hardener in the specified ratio (let's nail this math!). Stir gently, like whispering sweet nothings, to avoid unwelcome bubbles. If you crave vibrant hues, add resin pigments or dyes to create a dazzling spectacle of colors.
Let's Get Creative
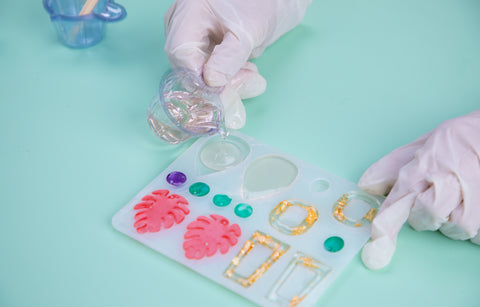
Pour a thin layer of clear resin into your chosen silicone molds (think of them as blank canvases). It's time for your imagination to soar! Embellish your partially cured resin with glitters, dried flowers, or maybe even a charming trinket or two (express yourself, this is your chance!). Remember to leave space for the grand finale.
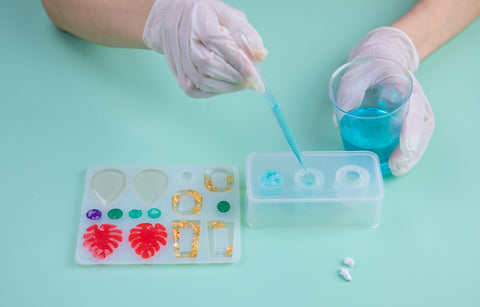
Pour, Baby, Pour

Now, take that remaining clear resin mixture and pour it into the mold, covering your embellishments like a protective hug. Use a toothpick or a skinny stick to gently chase away pesky air bubbles (those troublemakers!). Give your creations the love they deserve.
Patience, Grasshopper
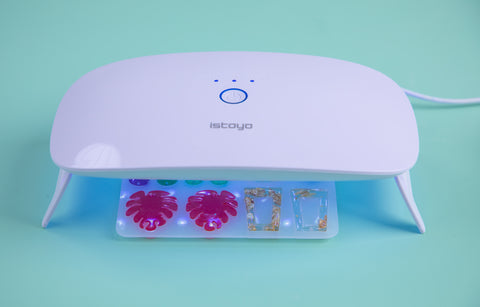
Place your molds on a level surface and let them cure like a grand masterpiece taking shape. Follow the resin manufacturer's instructions for the waiting time - a test of your endurance. Trust us, it'll be worth it!
Unleash Your Masterpieces


Once the resin has solidified like a warrior, gently flex your molds to release your extraordinary resin jewelry. For any stubborn molds, nudge them with care (you've got this!).
Embrace Imperfections
Use sandpaper or polishing tools to smoothen out any rough edges or blemishes (we all have a few imperfections that make us shine even brighter). Gradually graduate to a finer grit sandpaper for that professional wow factor.
Attach the Finishing Touches

Bring your resin creations to life by adding jump rings, earring posts, or necklace chains (the cherry on top!). Ensure those attachments are secure and ready for the world.
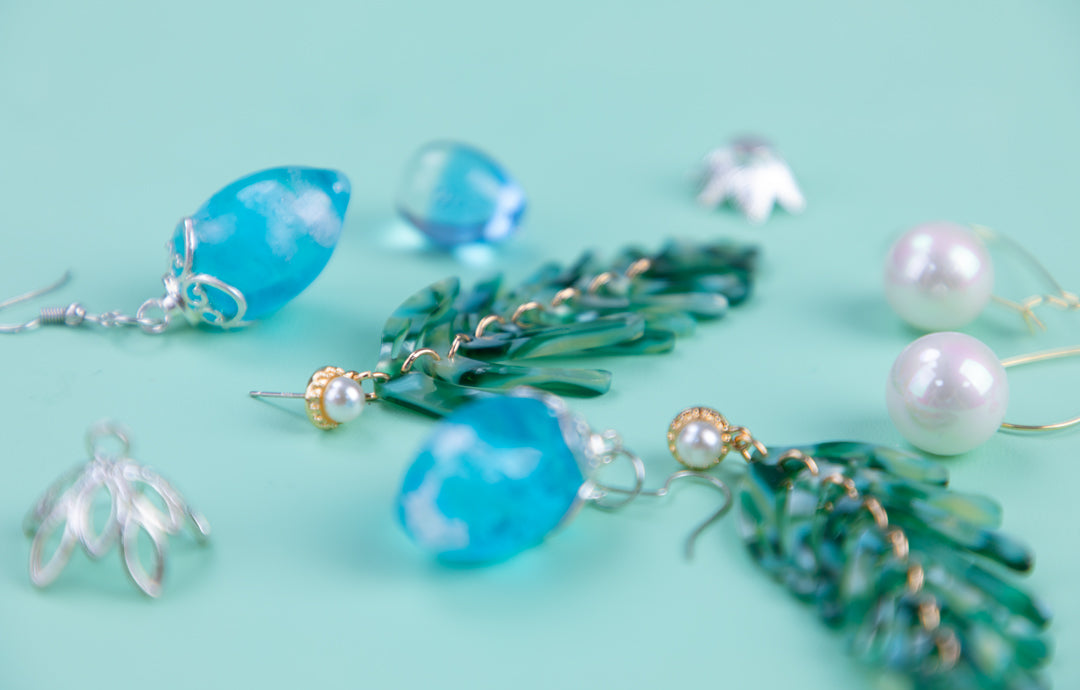
Flaunt Your Artistry
Celebrate your achievement! Wear your resin jewelry creations with pride or share them with loved ones, witnessing their awe-struck faces. Your unique, handmade pieces will be a conversation starter and a testament to your creativity.
Notes & FAQs
Safety always comes first! Read, follow, and abide by the resin manufacturer's instructions. Work in a well-ventilated space and gear up with gloves and eyewear if necessary.
Break the rules! Experiment with different colors, shapes, and molds to unleash your daring side.
Seal the deal! Consider using a resin-specific sealant or gloss spray for that extra shine and durability.
Don't rush greatness! Respect the curing time for your resin jewelry, as shortcuts may lead to sticky or soft results.
Q: Can I use other types of resin for jewelry making?
A: While epoxy resin is popular due to its clarity and ease of use, feel free to explore! Polyester resin or UV resin might suit your specific project needs. Just remember to acquaint yourself with their properties and specific requirements beforehand.
Q: How can I banish air bubbles from my resin jewelry?
A: Bubbles, the mischievous foes! To minimize their intrusion, mix the resin slowly and gently. Pour the resin from a low height, allowing it to flow smoothly and bid farewell to those pesky bubbles. If some persist, a heat gun or a toothpick can be your trusty weapons in popping them with care.
Q: Can I encapsulate non-flat objects in resin jewelry?
A: Absolutely! Let your imagination run wild! Beads, shells, and tiny trinkets can all find a home in your resin pieces. Just ensure they fit within the chosen mold and are compatible with resin encapsulation.
Conclusion
Congratulations, maestro of resin art! Armed with this down-to-earth guide, you're equipped to craft breathtaking resin jewelry pieces. Embrace the messy, the imperfect, and the extraordinary. Through this creative journey, remember to enjoy the process and allow your artistic spirit to soar. Let your resin jewelry creations tell the world your authentic and captivating story. Happy crafting!
Leave a comment