5 Simple Ways to Eliminate Air Bubbles from Resin

Resin crafting can be so fun and easy! But things can become a little frustrating when you aren’t getting that smooth, bubble-free finish you’re hoping for.
Air bubbles in resin are a common issue that many people face while using resin in their crafting projects. Without that smooth, crystal-clear finish it can almost feel like the entire thing is ruined. But where do these bubbles even come from?
When you open a container of resin, you’ll notice that it doesn’t come with bubbles. Air bubbles get trapped in the resin mixture during the mixing process or from the spaces in the mold you’re pouring it into. It sometimes seems like getting air bubbles trapped in your resin is almost unavoidable no matter how carefully you mix.
But there’s no need to worry, the good news is, there are numerous ways to eliminate the air bubbles from your project and ensure a seamless finish such as:
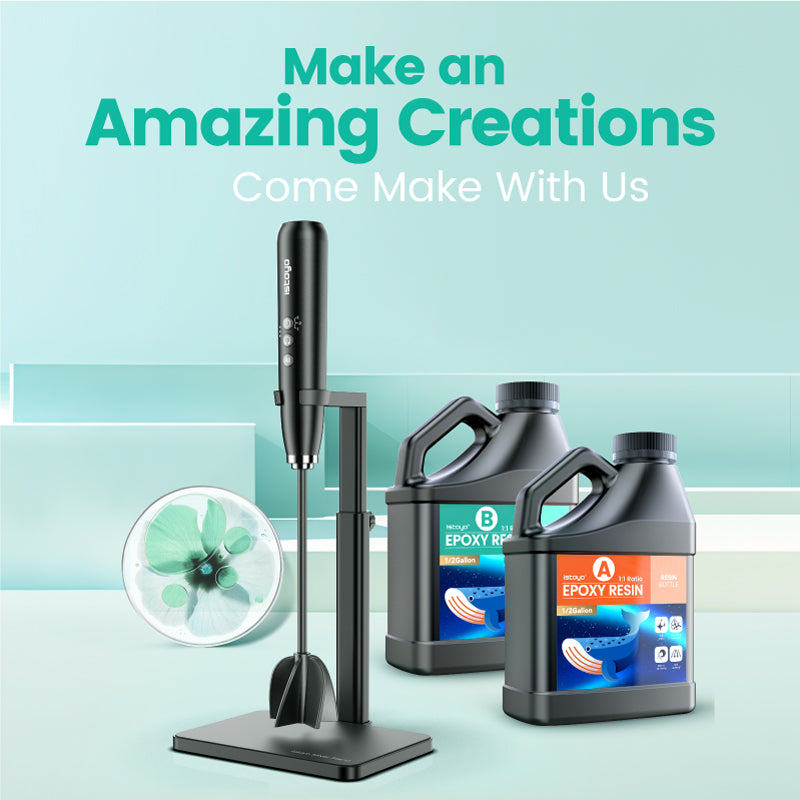
- Stirring resin with the ISTOYO Resin Stirrer
- Giving resin a hot water bath
- Placing resin on a heated coaster
- Applying direct heat to the resin’s surface
- Releasing bubbles with a vacuum pump
Let’s explore these five simple ways to eliminate air bubbles from resin.
Stirring Resin with the ISTOYO Resin Stirrer
The perfect, bubble-free resin mixture starts with proper mixing. Resin should never be whipped; it should be carefully stirred while scraping the sides and bottom into the center.
The most effective way to eliminate bubbles from resin is by mixing with the ISTOYO resin stirrer. This resin stirrer is an easy-to-use, handheld resin mixer that perfectly combines both parts of the resin, reduces bubbles, and ensures a smooth consistency and even pour into your mold.
Using this resin mixer is much more effective than mixing by hand. Resin should be mixed at just the right speed to avoid bubbles and ensure the mixture isn’t overprocessed, this epoxy mixer does this automatically.
Also, using a resin mixer saves you so much time. Other methods of removing bubbles from the resin will require you to hand-mix the resin first. By using the ISTOYO resin mixer, you get your mixture right the first time.
Let’s not forget how much easier it is on your hands when using an epoxy mixer. Resin has to be mixed consistently for several minutes to be perfectly incorporated, this can be tough on your hands. But by using the small, lightweight ISTOYO resin stirrer you only need one hand and can save your energy for the rest of the project.
This resin mixer is also easy to clean and can be used with any resin kit. Resin molds can be easily cleaned with soap and water, in the same way, you can wash the resin stirrer’s paddle with some warm soapy water and it’ll be as good as new.
The ISTOYO resin stirrer is a highly recommended epoxy mixing tool that is safe, efficient, easy to operate, and most importantly reduces the number of bubbles in your resin.
Giving Resin a Hot Water Bath
Another way to reduce bubbles in resin is by placing the container of freshly mixed resin in a bowl of hot water (no more than 60 degrees) to release the bubbles. A hot water bath just means putting something to sit in a container of hot water. This method of reducing bubbles is very popular but should be closely monitored.
Before mixing the resin ensure that you have everything you need at your fingertips. After mixing the resin, add hot water to your heat-safe bowl (remember the water should be between 45-60 degrees). Your water should be higher than the level of the resin but not so much that the cup is unstable.
Place the cup containing the resin mixture in the bowl of water. The heat from the hot water causes the bubbles to rise to the surface and eventually pop. The resin should only remain in the hot water bath for about ten minutes.
It’s important to ensure the resin doesn’t get too hot. Resin naturally heats up when mixed as the chemical reaction takes place. Although warming the resin reduces bubbles, if you leave it for too long, that could cause the mixture to overheat.
Also, heat promotes a faster cure time in resin. Be sure that you aren’t leaving warm resin sitting out for too long while you get your molds ready, or it might just cure in the mixing cup!
Placing Resin on a Heated Coaster
Heated coasters are great for keeping your coffee warm… and your resin too! A heated coaster is another easy way to remove bubbles from resin. The coaster evenly distributes the heat throughout the underside of the container and maintains the perfect temperature.
Use a cup with a flat surface and a thin wall to mix the resin (this ensures that the heat will be evenly distributed). Before placing the cup, turn on your coaster and wait until the temperature falls between forty-five to sixty degrees.
After hand-mixing your resin mixture, place the cup on the heated coaster. While the cup is on the coaster, you’ll notice the bubbles rising to the surface. The heat is pushing the trapped air bubbles toward the top of the cup. The container only needs to be on the coaster for ten minutes to remove the bubbles.
When using a heated coaster, pay close attention to the resin. Heat causes the resin to cure a lot faster, so be sure to have your resin doesn’t overheat or cure in the container.
Always be sure to read the instructions on your resin kit before using a heated coaster. If your resin has a quicker cure time, this method may not be the best choice.
Applying Direct Heat to the Resin’s Surface
Direct heat is an easy way to reduce bubbles in resin but may not be the most effective method. Using a lighter, blow torch, heat gun, or hair dryer, heat the resin surface to eliminate air bubbles. This method can be used both before and after pouring the mixture into the molds.
After hand-mixing the resin, direct heat can be used to reduce the number of bubbles rising to the surface of the container before pouring it into the mold. After pouring into the mold or onto the surface you’re working on, if there are still bubbles, apply more heat with your tool of choice to eliminate the remaining bubbles.
Although heat guns and blow dryers can chase away the air bubbles from your resin, they can change the overall look of the project if used incorrectly. These tools are sources of very strong wind and are more suited for creating waves and patterns.
For small projects, the strong air could blow the resin off the mold or surface entirely. In larger crafts, the air could change the look of the colors in the design or create an uneven surface.
Remember, you can’t apply direct heat from a hair dryer or heat gun to resin once it has started to cure and has become sticky! This will cause the resin to tighten and create wrinkles and imperfections on the surface of your resin craft.
When using a blow torch, be sure to read all of the instructions and warning labels on your resin kit. Some brands contain flammable chemicals that should not be used with direct heat.
Releasing Bubbles with a Vacuum Pump
Using resin can feel like a science experiment, especially when using a vacuum pump! A vacuum pump can be used before or after pouring the mixture into the molds. When you turn on the vacuum, the pump will suck the air out of the chamber creating a vacuum inside. This method requires the use of a vacuum chamber and pump which can be quite expensive.
First, make sure you’re mixing the resin in a container that has enough room for about three times the original amount of resin. After hand-mixing your resin, place the container inside the vacuum chamber. When it’s turned on, the air trapped in the resin will bubble and rise to the surface.
The container should remain in the chamber for about five minutes. If after degassing with the vacuum there are still bubbles, you can put the container back into the chamber and repeat the process.
When you remove the resin from the chamber it should be bubble-free. Slowly pour the resin into the mold. If after pouring there are any bubbles in the mold, you can choose to put the mold into the chamber to reduce the bubbles once again, but this step isn’t necessary.
Remember to pay close attention to the instructions and warnings on your resin kit. If you have quick-setting resin, the vacuum chamber would not be a good solution to remove bubbles. This method works well with resin that has a longer curing time.
Leave a comment